
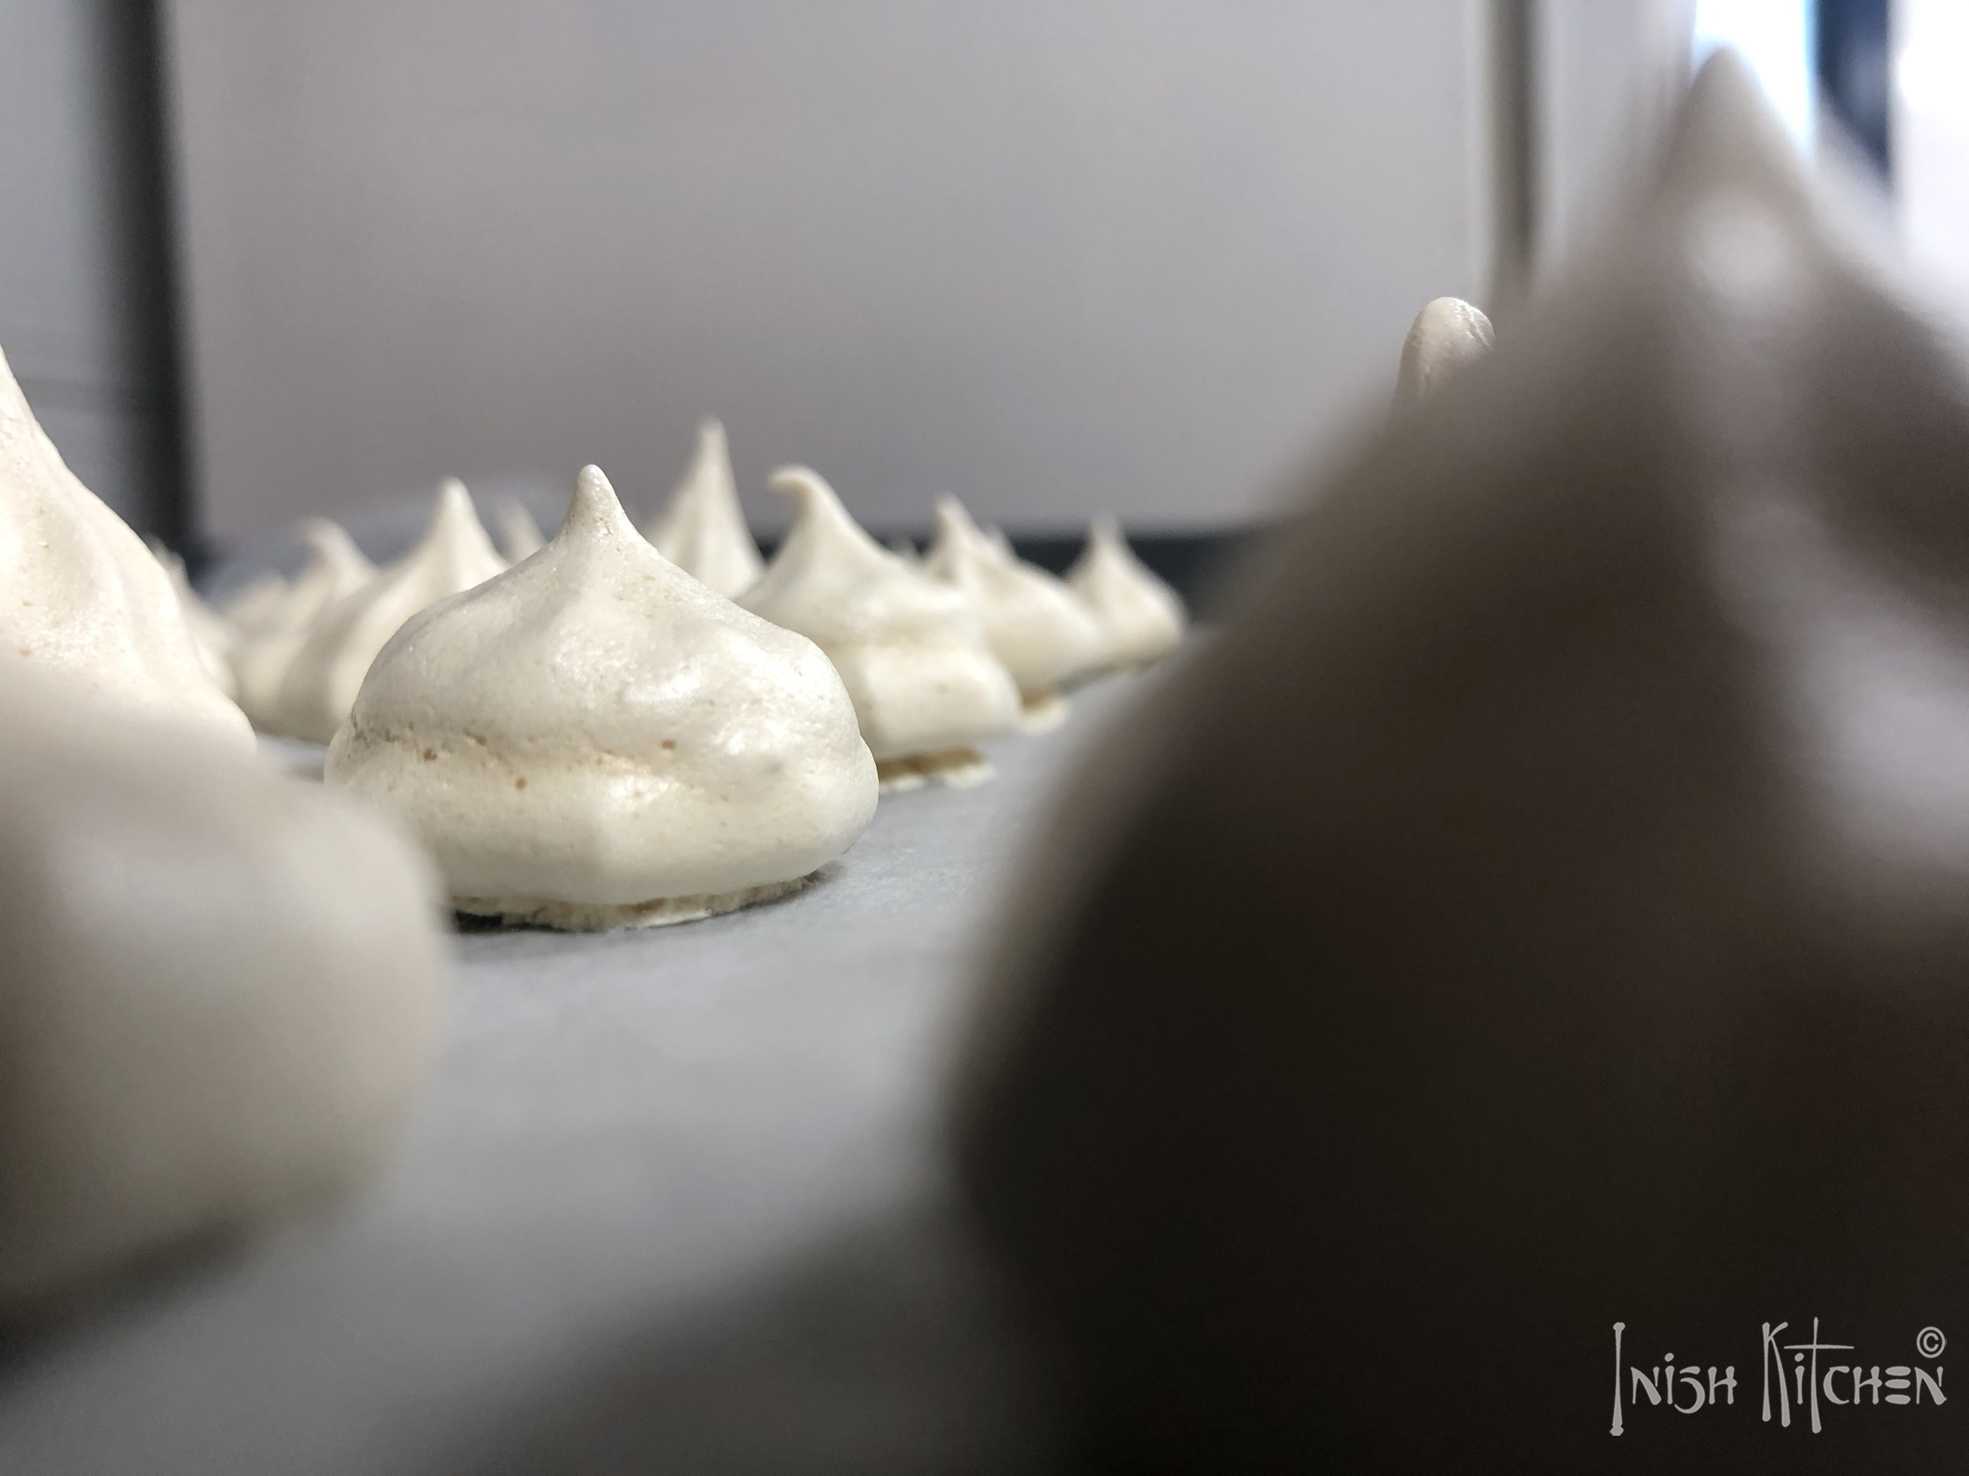
Wow your friends and family this year with these Meringue Kisses or Meringue Cookies! A delightfully easy cookie recipe that yields sensational results and I am sharing with you the perfect way to get your sensational “French Meringue Kisses”. These French Meringue Kisses are light as air, melt in mouth, and perfectly sweet, that will look wonderful on a cookie basket. I love to flavor it with vanilla, but I guess peppermint flavor will also work wonders. This festive season these delectable meringue cookies make a wonderful give away gift.
4 basic ingredients, few minutes of prep and loads of baking time. Here you are ready with “French Meringue Kisses”.

Before we hop on to the recipe let me share some knowledge about Meringues. Basically there are 3 types of Meringue: The Swiss have their way of preparing Meringue, while the Italians have their way.
Today let’s go the French way, which is very simple, easy and no mess. Basically preparing French meringue is a child’s play that you can never go wrong. Only be careful with the oven temperature setting. Unfortunately on my 1st trial I didn't just burn it, I had a smoky kitchen with a fire alarm ringing on.

The basic technique for a French Meringue is to spoon in sugar SLOWLY into the egg whites while they’re being whipped. Bake them at a very low temperature for a LONG time. This dries them out without browning the cookies.

Enjoy reading till the end of the recipe where I am sharing my Notes for no-fail French Meringue Cookies.
Meringue kisses are perfect to make when you have some leftover egg whites. Remember the leftover egg whites from my last recipe ‘Raisins Baked Cookies’. If you have not yet checked out my recipe, here you go RAISINS BAKED COOKIES / EGGLESS (optional)

Fold on your sleeves and get ready as this recipe calls for whisking, whisking and whisking, so preferably use a Stand mixer, if not, join me as I use my hand blender. Obviously preferred is Stand mixer as it will set you free to do your other errands. Unlike me you don’t have to be glued to a hand blender and just being prepared for this will take a while.
Ingredients:
- 3 Egg Whites
- 1 cup Sugar
- ½ teaspoon Vanilla extract
- 1 tablespoon Lime / Lemon juice
Procedure:
Set the oven to 100 degree Celsius.

While the oven is heating up, separate the egg whites one at a time into a small bowl then transfer each white to the stand mixer bowl.

The egg whites must be fresh since only fresh egg whites will give the desired firmness to the Meringue. While separating the whites from the yolk make sure you have clean egg white, no shells, perfect eggs, only then transfer to the whisking bowl.

You really don’t want to get any broken yolks in your bowl. So separating the egg whites individually allows to check and avoid any damage to the Meringue. Thereafter transfer each egg white to a large whisking bowl that is either ceramic, metal or glass.
Traditionally, Meringue cookies are made with ‘Cream of Tartar’. Cream of tartar is also known as a potassium tartrate or a powdered form of tartaric acid. This organic acid is found naturally in many plants. Cream of tartar helps stabilize the egg whites, prevents sugar from crystallizing and act as a leavening agent for baked goods.
I have never used Cream of Tartar and neither could I find one in the nearby supermarket. So I decided to work with Lime. Lime juice is probably the most popular substitute to cream of tartar because lemons provide the same acidity, helping to form stiff egg white peaks. You may also try with White vinegar but I prefer to go with fresh Lime.

Add Lime juice to the bowl then begin mixing on low speed and gradually increase the speed to high.
In order to get a perfect meringue, the sugar needs to be added slowly. A gritty grainy Meringue just won’t do. Turn the mixer on high and add in the sugar a teaspoon at a time, and wait until it is incorporated before adding the next teaspoon. Gradually adding sugar, allows the sugar crystals to dissolve. Scrape the bowl edges and continue beating until stiff glossy peaks form, about 10 – 12 minutes on hand blender. This will take quite a long time, whisk the whites until it forms a stiff peak and you are able to flip the bowl and the meringues do not fall off.
Take a drop of batter in between your fingers and rub against each to check if you feel sugar grains. If you feel some grains continue whisking until the sugar is completely dissolved thereafter add in the splash of vanilla extract or and flavoring extract. Mix some more on high until you get stiff peaks. When you pull out the beater the resulting peaks will stand up firm. Thus the Meringue is finished and ready to be made into Kisses / Cookies.
Spoon the egg whites into a piping bag that is fitted with star nozzle. The size and shape of the nozzle can be chosen based on your preferred pattern. Once the piping bag is filled in, there are no air pockets as this spoils the piping shape. Squeeze the air pockets.

Line a baking tray with parchment paper. Pipe a spot onto the four corners of the baking tray and this will let the parchment paper stick on to the baking tray. Pipe the meringues allowing at least an inch of space between each for airflow.
If you wish to color the meringue, with a toothpick add a tiny drop of coloring into the batter and gently mix with the whisk or the spatula. A little drop of color goes a long way. I have used “soft pink” for the second batch of meringue.


Bake until firm to the touch, 60 minutes. Thereafter, turn off the oven and leave meringues in the oven with the oven door closed so they can dry out completely. My cookies base size is 1inche, smaller ones are easier to get crispy. Larger cookies take more time to bake and tend to be chewy inside.
Remove meringues from the tray, click from beautiful pictures, taste it, share and if anything is left then store in an airtight container at room temperature.
HOW LONG DO MERINGUE COOKIES LAST?
Your Meringue cookies will last up to two weeks at room temperature as long as they are kept in a sealed container and stored in a dry place.
Important: once the Meringue is ready they should not wait for too long as it will not pipe as nicely as it should.

NOTES:
1. The blender/beater that you are using to beat your Meringue is completely grease and water free. Any grease will ruin your meringues.
2. Use a glass or metal bowl.
3. While separating the egg whites even a tiny bit of yolk can ruin your meringues.
4. Add the sugar one tablespoon at a time.
5. Be patient and whisk until you achieve stiff firm peaks.
Drop in your feedbacks and I will be pleased to respond them. Be kind to like my page and share the recipes with your friends and family using the buttons on the side, that would really encourage me. God Bless!
Do SUBSCRIBE this Blog and like us on www.facebook.com/inishkitchen if you liked this recipe and wish to receive more updates on the upcoming posts.
I am a regular reader of your blog, Amazing content with proper examples. Thank you admin.
ReplyDeletecyclical ketogenic diet
Great to know you..Thank you so much for your kind words. Stay tuned for more
Delete